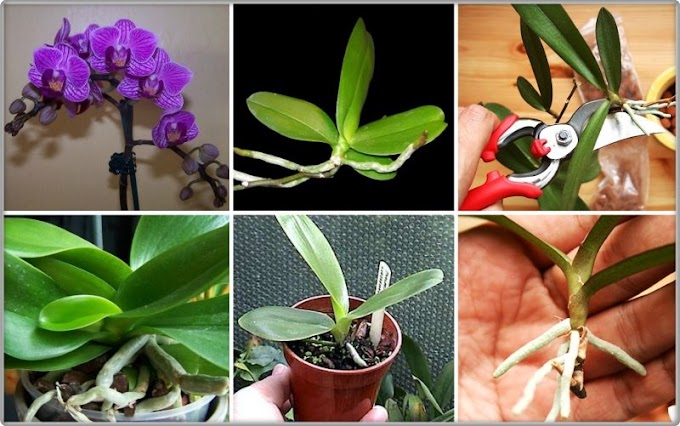
While most orchids are only hardy planting in USA, the vibrant flowers make excellent indoor specimens when given adequate soil and moisture. We can propagate orchids with the same characteristics as the mother plant by easier means, including stem cuttings, back bulb cuttings, top cuttings and keiki cuttings o grow several
Today we are going to introduce 2 common ways for orchid lovers to plant orchid at home.
1. Stem Cuttings
For stem cuttings, you will need a waterproof tray about 3 inches deep. Fill it either with damp sphagnum moss, damp sand or a mix of both. Then clip a cane that’s at least 10 inches long, severing it near the orchid’s base and just above a node, which is a leaf joint. Cut the cane into pieces that retain at least two nodes each, and coat the pieces’ raw ends with a powdered anti-fungal such as charcoal, cinnamon or sulfur. After laying the pieces horizontally on top of the medium in the tray, press them only lightly into it so that their surfaces remain uncovered. Encase the tray in a transparent plastic bag and place it in a warm position where it will receive bright light but no direct sun. In about three to four months, some of the cuttings may send up new plantlets from the nodes.
Here are the directions:
1. Cut a stem on your orchid at least 12 inches long near the base using pruning shears or a sharp knife. Divide the stem into several 3- to 4-inch sections, making sure each segment has a dormant bud.
2. Line a shallow tray with sphagnum moss, and mist the moss until it is thoroughly damp. Place the cuttings in the tray. Cover the tray with polyurethane plastic wrap and place in a location that’s at least 60 degrees Fahrenheit and out of direct sunlight.
3. Fill one 3- to 4-inch pot per orchid plantlet with fir bark potting mix to within an inch of the top of the container. Once the orchid stem segments have sprouted small plantlets from the buds, place one in each container, covering the remaining stem segment and roots with potting mix.
4. Line a tray with smooth, flat stones and add enough water to nearly cover the stones. Place the orchid pot on top of the stones to keep the air around the orchid humid. Keep your new orchids in an area that receives bright, indirect light, and mist them daily. Dendrobium orchids prefer temperatures between 55 and 80 degrees Fahrenheit depending on the species, and a minimum night temperature of 50 degrees for maximum flowering.
5.Water your new orchids until water leaks from the bottom drainage holes once per week and fertilize every three weeks with a liquid orchid fertilizer from spring to mid-fall. Alternately, dip the bottom of the container in a bucket of water, allowing it to soak through the drainage holes.
Tips: Sprinkle cinnamon on the cut stem shoot of parent orchid to help it fight off bacteria. Cinnamon is a natural bacteria fighter


